I can't believe it's been almost two weeks since I got back from my violin varnish workshop in Concord. Lots of people have asked about it, so figured I'd better buckle down and write this post while enough of it is still fresh in my mind.
It was great.
Disturbing week to be in Boston aside, it was inspiring, helpful, challenging, reassuring, and altogether worthwhile. Very glad I went, and I know my work will improve as a direct result.
 |
| Joe Robson |
There were a dozen people in attendance at the workshop ranging from professionals with experience to someone varnishing for the first time. The primary instructors were Joe Robson (who is a varnish maker and provided us a range of his products to try) and Marilyn Wallin (an award winning luthier and former president of the Violin Society of America), and then later we were also joined by Roman Barnas (teacher at the North Bennett Street School) and Todd Goldenberg (a New England luthier).
 |
| gathered for a demonstration |

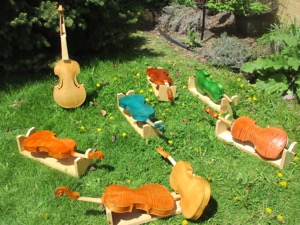
We were situated in two rooms in an art center in Concord, but spent as much time as possible working outside. Color is easier to judge in natural light, and everything dried best in the sun when we could get it.
Everyone was asked to bring two instruments, one in the white, and one with a ground coat already established. I managed to do my ground work at home backwards (not an auspicious beginning), but this worked out in the end because I was able to strip the instrument and that's a skill I needed. I also got to learn a technique for completing a ground coat in a day in order to catch up, and that was valuable experience as well. (Ideally, it's best to take your time and be thorough and enjoy the process longer, but the speed ground turned out to work perfectly fine. Someone in our group dubbed the technique the "Fed Ex Ground.")
 |
| My corner of the bench--cozy work space for 8 people |
There were several revelations for me during this workshop, one of which was to finally begin to understand the true importance and function of the ground on a violin. The ground coat is everything you do to the wood before you start layering on varnish. The ground is in the wood, the varnish is on the wood. With the ground you establish a base color to work over, and prepare the surfaces for taking on varnish. In this workshop I was shown how to look for the ground through the varnish on a finished instrument, which was pretty amazing.
One of the things that's complicated about violin making is that among builders I know, it tends to be a pretty solitary business. When you work in isolation you lack feedback. In the workshop you could try new things, observe how different things were working out for others, and never feel like anything was beyond hope because there were so many knowledgeable people there to help salvage the work.
And there were techniques and materials that if I had used them by myself I would have felt panicked. For instance, there are interesting dyes available to put into the ground coat, but if I had applied them at home I would have been convinced I'd just ruined my instrument. I tried a gold dye that goes on looking like you took a highlighter to the wood, but after only an hour in the sun it fades down to a lovely color. Check out the violin right after the dye went on: